All products featured on Domestic Gourmet are independently selected. I may earn an affiliate commission when you buy through links on this site.
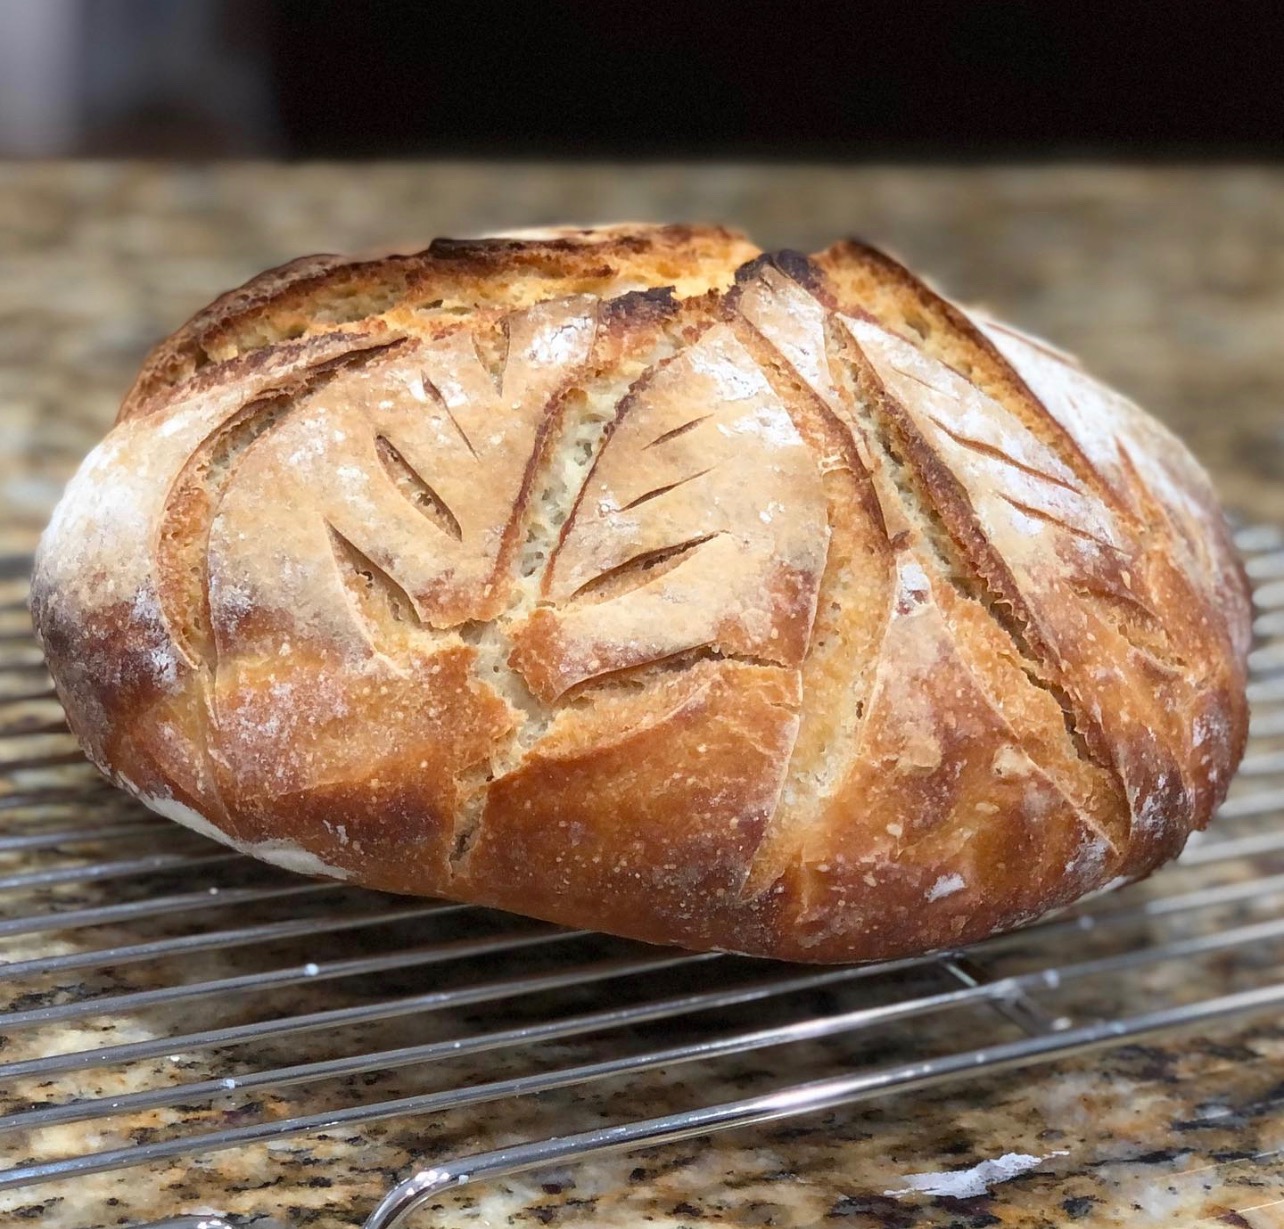
Sourdough is a bread that can replace all different types of bread and that you can bake without the need for yeast. What more can you ask? It is an excellent accompaniment to breakfast, soups, and pasta, and it can replace sandwich bread; the list goes on.
I love adding fresh herbs from my garden to elevate a sophisticated piece of edible history—one of the most ancient forms of bread and also the most delicious, in my opinion.
iBuen provecho!

Easy Dutch Oven Sourdough
Equipment
- Banneton Basket (can be substituted with a glass bowl)
Ingredients
- 151 g ripe and fed sourdough starter approximately ⅔c
- 227 g lukewarm water approximately 1 cup
- 2 tsp table salt
- 401 g all-purpose flour approximately 3 cups
Optional:
- 1½ tsp instant yeast only use if your starter is immature
Instructions
- Combine all of the ingredients in the mixing bowl of a stand mixer and knead the dough with the dough hook attachment on low speed for about 5-7 minutes.
- You can alternatively knead by hand in either a mixing bowl or on a clean surface. You'll manually knead until the dough no longer sticks to your hands or the surface on which you're kneading.
- Once your dough ball clears the sides, meaning it no longer is sticking to the sides of the glass bowl and there are no crumbs on the bottom of the bowl, it is ready to be manually kneaded.
- Remove the dough from the mixing bowl and place it on a lightly floured counter, knead by hand to form a smooth dough ball.
- Place your dough ball in either a lightly greased bowl or a lightly floured banneton basket, cover with a kitchen towel or plastic wrap, and let it sit to proof until it doubles in size, approximately 2-4 hours, depending on the maturity of your starter or if you used instant yeast.
- 30 minutes before baking, place your empty and covered Dutch oven on the middle rack of the oven and preheat to 500 degrees.
- Once the dough has doubled in size, sprinkle with flour and invert it onto a piece of parchment paper.
- Sprinkle the bottom side of the dough that is now facing up with flour and score the dough using a Lahm.
- Using oven mitts, remove the Dutch oven from the oven, place it on the stove, and remove the lid.
- Carefully hold the edges of the parchment paper containing the sourdough and gently place inside the preheated Dutch oven.
- Using oven mitts, cover the Dutch oven and return to the middle rack of the preheated oven.
- Lower the temperature to 450 degrees and set a timer for 20 minutes.
- Next, while using oven mitts, remove the lid and set the timer for 15 minutes.
- Lastly, remove the Dutch oven from the oven using oven mitts, return the loaf to either a baking stone or bare rack, and set a timer for 5 minutes. Bake until sourdough is a deep golden brown; an additional 5 minutes may be needed.
- Use oven mitts to transfer the loaf to a cooling rack and allow it to cool for 2 hours or until sourdough has reached room temperature.
Recommendation:
- Weigh your ingredients for accuracy. Otherwise, you may need to add a little more water or flour.
- If you prefer more robust sourdough notes, proof your dough for 12-14 hours before baking.
Notes
Did you make this recipe?
Please let me know how it turned out for you! Leave a comment below, tag @domesticgourmet on Instagram, and hashtag #domesticgourmet.

Delicious. Crunchy on the outside and soft in the center, with the light punch of sour. Love it.
So delicious and simple. I will definitely be making this weekly!
I am so happy you enjoy this recipe! Thank you for taking the time to leave a review!
Do you cover on the proof?
Hi, Jan. Great question! Yes, cover the dough during the proofing process.
Can I put honey in it?
Yes.